SpringBoot学习1之快速入门
环境准备
Java环境
一个趁手的IDE(本文使用Eclipse)
Maven环境(可以自己安装或者使用IDE内置的maven)
创建一个简单的Spring-boot应用
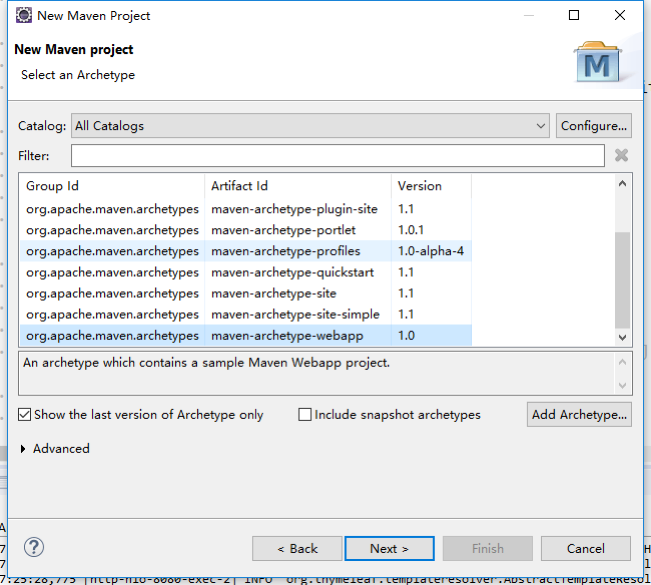
首先创建一个maven项目
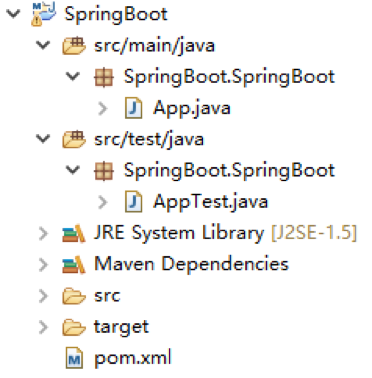
创建好的项目结构如图所示
并在其pom.xml中引入如下所示:
1 | <project xmlns="http://maven.apache.org/POM/4.0.0" xmlns:xsi="http://www.w3.org/2001/XMLSchema-instance" |
重新构建项目,右键项目->Maven->Update Project
将App.java文件改写成如下所示
1 | package SpringBoot.SpringBoot; |
右键运行该项目(作为一个普通的java application运行,这也是springboot的魅力所在),亦或者输入命令:**mvn spring-boot:run** 运行
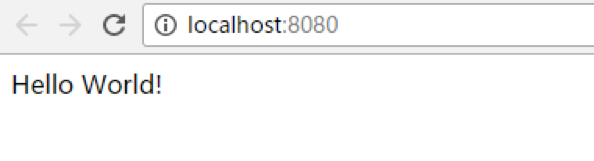
运行成功后,访问浏览器**http://localhost:8080/** 即可看到返回的结果
程序的入口是:SpringApplication.run(App.class, args); 其中SpringApplication可以暂时当作一个主类来看,这里先不细说,Spring Boot会判断出这是一个web应用,并启动一个内嵌的Servlet容器,一般默认是Tomcat。
注解说明
@Controller
@Controller 注解的类会被当作一个Controller,专门用来处理不同请求不同的URL,从而有针对性的返回内容。
@RestController
@RestController 注解整合了**@Controller和@ResponseBody。使用了这个注解的类会被当作一个Controller,而Controller中的方法无法返回jsp页面,视图解析器将不起作用,比如返回 return”success”;本来是应该返回到success.jsp页面的,但是现在只会返回一个字符串**。
上文中的@RestController如果替换成@Controller则会提示找不到名为“Hello World!”的页面。
所以一般不要用@RestController注解修饰某个类,一般在实际使用时,可以选择使用@Controller注解类,在该类的方法中有选择的使用@ResponseBody,这样的话,当某个方法需要返回的是一个视图的时候就不需要添加@ResponseBody,当需要返回的是一个json数据或者Xml等时,可以选择添加@ResponseBody
@RequestMapping
@RequestMapping 注解是用来处理请求地址映射的注解,可以用在类或方法上,如果用在类上,则表示所有该类中的响应方法都是以该地址作为父路径。
1 |
|
在实际开发中,如果对于不同Id的用户进行不同的处理,常常需要在URL中加入变量以进行区分,@RequestMapping也提供类似的方法
1 |
|
其中**{id}就是一个占位符,可以替换成实际的id,当请求路由到该方法进行处理时,该方法根据注解@PathVariable**取出名为”id”的值,并赋予给 int id,这样你在方法中就可以将id作为一个局部变量进行使用
在实际应用中,不同的Http方法,在处理过程中可能也要进行分别处理,@RequestMapping也提供了相应的解决办法
1 |
|
即使两个方法处理的URL是一样的,但是由于访问的http方法不一样,所以依然会路由到不同的方法分别进行处理
模板渲染
当使用@Controller注解某个类时,某个URL路由方法中的返回值字符串,将不再直接返回到前端进行显示,而是将寻找名为该字符串的模板进行渲染
1 |
|
上述例子中将寻找名为hello的模板进行渲染。
在这里我们使用**thymeleaf**模板引擎进行渲染。
首先在pom.xml中引入依赖
1 | <dependency> |
接下来创建资源文件夹(source folder) src/main/resources,并在该目录下创建普通文件夹templates,并在该文件夹下创建模板文件hello.html
1 |
|
**th:text=”‘Hello, ‘ + ${id} + ‘!’” **也就是将我们之前在@Controller方法里添加至Model的属性id进行渲染,并放入
标签中(因为th:text是
标签的属性)。